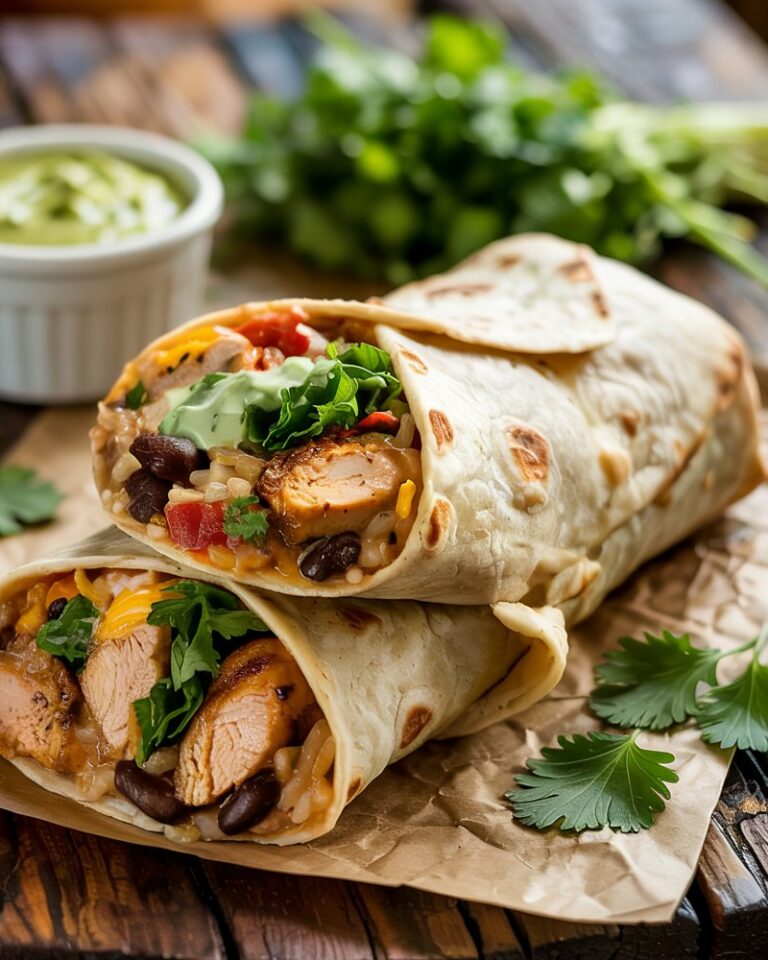
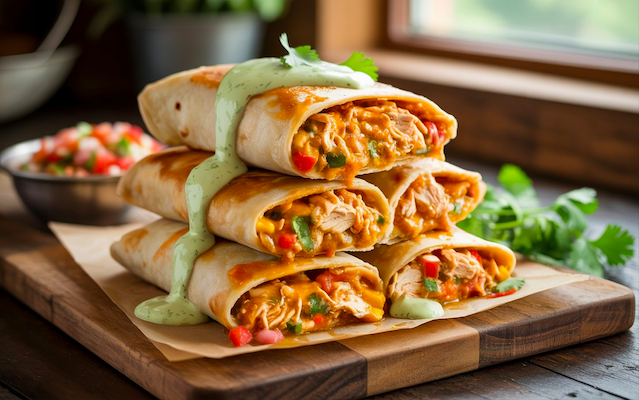
Did you know that over 70% of people today are searching for healthier versions of their favorite meals without compromising flavor? If you’re a fan of crispy, comforting dishes like chimichangas, you’ll love this recipe for baked chicken chimichangas. Unlike the traditional deep-fried version, this baked alternative is lighter while retaining the irresistible taste you expect from this Tex-Mex specialty.
Beyond being healthier, this recipe is simple, quick, and customizable—perfect for weeknight dinners or impressing guests stress-free. Let’s dive into the juicy, crunchy details of this must-make dish!
Ingredients (Serves 4)
Here’s what you’ll need to make the best baked chicken chimichangas:
- 2 cups shredded cooked chicken (breast or thigh for extra juiciness)
- 1 cup black beans (or red beans for variety)
- 1 cup shredded cheese
- 1/2 cup light sour cream or plain Greek yogurt
- 1/2 cup mild or spicy salsa, to taste
- 1 tsp ground cumin
- 1/2 tsp chili powder
- 1/2 tsp smoked paprika
- 1/2 tsp garlic powder
- 1/2 tsp onion powder
- salt
- 4 large flour tortillas (or gluten-free for a dietary alternative)
Recommended substitutions:
- Crumbled tofu or shredded jackfruit for a vegetarian version
- Corn or spelt tortillas for more fiber
Timing
Making these baked chicken chimichangabs is surprisingly quick:
- Prep time: 15 minutes
- Cook time: 25 minutes
- Total time: 40 minutes
Step-by-Step Instructions
1. Preheat your oven to 200°C (390°F)
2. Prepare the filling
In a large bowl, mix the chicken, beans, cheese, sour cream, salsa, and spices. Stir thoroughly until everything is evenly mixed into a luscious, velvety filling that bursts with bold Tex-Mex flavor in every bite.
3. Assemble the chimichangas
Spoon a well-measured portion of the filling into the center of each tortilla—just enough to fill without overwhelming—so you can roll them easily and neatly. Tuck in the sides of the tortilla, then roll it tightly from the bottom up to create a firm, neatly wrapped burrito.
4. Brush and bake
Lightly brush the tops with oil to encourage golden crispiness. Bake for 20 to 25 minutes, or until the chimichangas are crisp on the outside and a deep golden brown, with the cheese bubbling slightly at the edges.
5. Serve hot
Allow the chimichangas to rest for 5 minutes to let the filling set, then serve warm with a side of creamy guacamole, zesty fresh salsa, or a dollop of tangy sour cream.
Nutritional Information (Per Chimichanga)
| Component | Approximate Value |
|---|---|
| Calories | 390 kcal |
| Protein | 28 g |
| Carbohydrates | 28 g |
| Fats | 16 g |
| Fiber | 5 g |
| Sugar | 2 g |
| Sodium | 580 mg |
Compared to a fried chimichanga (about 550 kcal), this version is 30% lower in calories.
Healthier Alternatives
- Skinless grilled chicken instead of rotisserie
- Air fryer method for maximum crisp with minimal oil
Dietary adaptations:
- Low-carb: Try lettuce wraps or cauliflower-based tortillas
Serving Suggestions
Make your baked chicken chimichangas even more festive:
- Accompanied by flavorful Mexican rice and grilled corn
- Served with crunchy slaw
- Paired with a homemade margarita for a Tex-Mex night
Add sliced jalapeños for an extra kick!
Common Mistakes to Avoid
- Overfilling the tortillas: Leads to difficulty rolling and possible bursting while baking.
- Skipping the oil brushing: It’s the secret to a crispy baked shell.
- Overheating the oven: Above 220°C, edges can burn before the inside is hot.
Storing Tips
- Refrigerate: Allow leftovers to cool completely, then store them in an airtight container in the refrigerator for up to 3 days to maintain freshness and texture.
- Freeze: Cool completely, wrap individually, and store in a freezer-safe container for up to 3 months.
- Reheat: Use oven or air fryer to keep crispiness. Avoid the microwave if possible.
Batch cooking tip: Make a big batch and freeze for quick weeknight meals.
You may also like this
Popeyes Chicken Wraps Recipe: Recreate the Flavor at Home
Honey Chili Chicken with Vegetables: A Delicious, Quick, and Balanced Recipe
Conclusion
Baked chicken chimichangas prove you can combine flavor, health, and simplicity in one dish. Lighter but just as indulgent, they’re bound to become a go-to family favorite.
Give this recipe a try, share your thoughts in the comments, and don’t forget to subscribe for more easy and delicious meal ideas!
Notes
Ingredients (Serves 4)
Here’s what you’ll need to make the best baked chicken chimichangas:- 2 cups shredded cooked chicken (breast or thigh for extra juiciness)
- 1 cup black beans (or red beans for variety)
- 1 cup shredded cheese
- 1/2 cup light sour cream or plain Greek yogurt
- 1/2 cup mild or spicy salsa, to taste
- 1 tsp ground cumin
- 1/2 tsp chili powder
- 1/2 tsp smoked paprika
- 1/2 tsp garlic powder
- 1/2 tsp onion powder
- salt
- 4 large flour tortillas (or gluten-free for a dietary alternative)
- Crumbled tofu or shredded jackfruit for a vegetarian version
- Corn or spelt tortillas for more fiber